Web Widget
The FluentC Widget is a translation web widget that supports 75 languages, enabling you to provide seamless multilingual capabilities to your website. Installing the FluentC Widget is a simple process that can be done in just a few steps.
Getting Started
Step 1: Accessing the FluentC Web Widget Dashboard
To begin, go to the FluentC Widget dashboard at https://dashboard.fluentc.io/widget. This is where you can create a new widget, or manage an existing widget for your website.
Step 2: Installing a New Widget
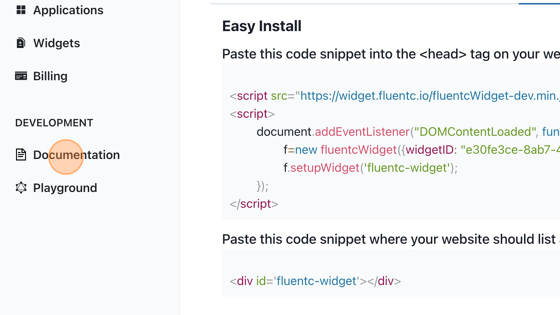
Once your FluentC Widget settings are saved, the install tab will include a code snippet with your unique WIDGET_ID. Copy the code snippet, then paste it into the <head> tag on your web page.
<script src="https://widget.fluentc.io/fluentcWidget.min.js"></script>
<script>
    document.addEventListener("DOMContentLoaded", function () {
        f=new fluentcWidget({widgetID: "WIDGET_ID"})
        f.setupWidget('fluentc-widget');
    });
</script>
Paste this code snippet where your website should list available language
<div id="fluentc-widget"></div>
Step 3: Installing on a Third Party
Locate the section where you can add code snippets to your site's HTML, such as the header or footer. Paste the previously copied injectable script code into the appropriate area.
Step 4: Saving and Testing
Save the changes you made to your website's code. Open your website in a new browser tab or window to test the FluentC Widget. Verify that it is displayed correctly and functioning as expected. Test the translation functionality by selecting different languages using the widget and ensure that the content is accurately translated.
Walkthrough
How to Create a Custom Language Widget for Your Website
1. Navigate to https://dashboard.fluentc.io/widget/
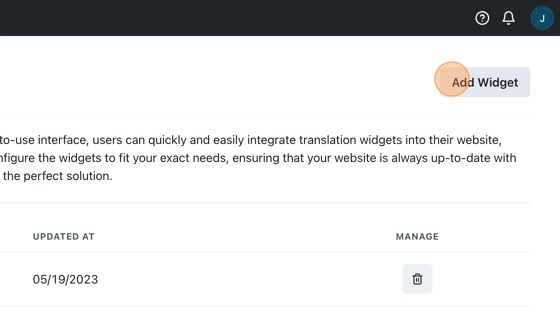
2. Click "Widgets"

3. Click "Add Widget"
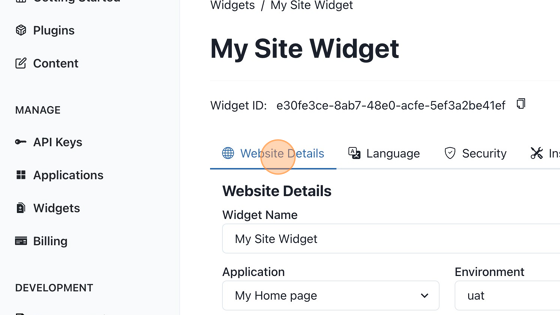
4. Click the "Widget Name" field.
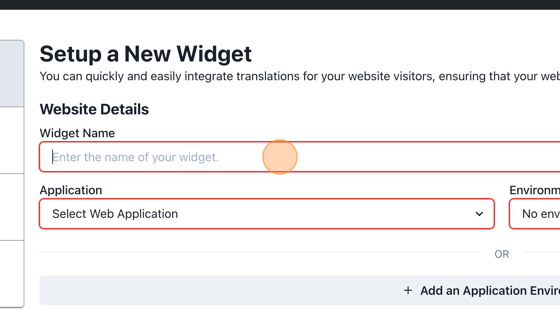
5. Enter a name for your widget
6. Select an existing application and environment or create a new one
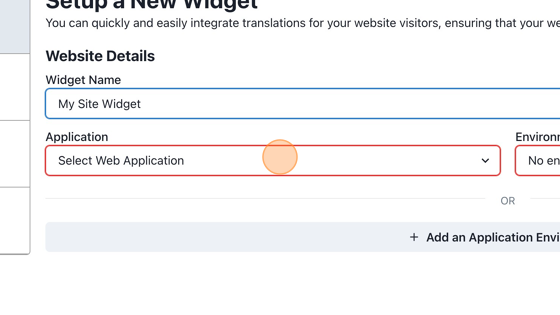
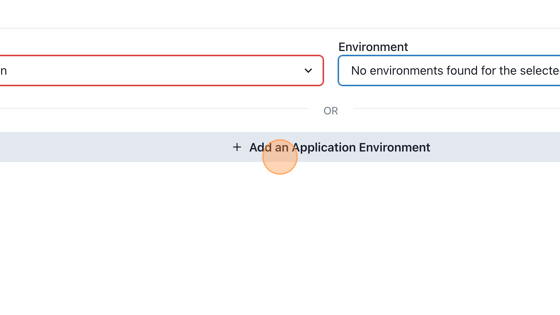
7. Click this dropdown.
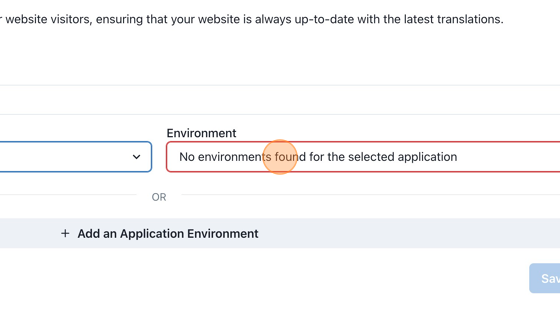
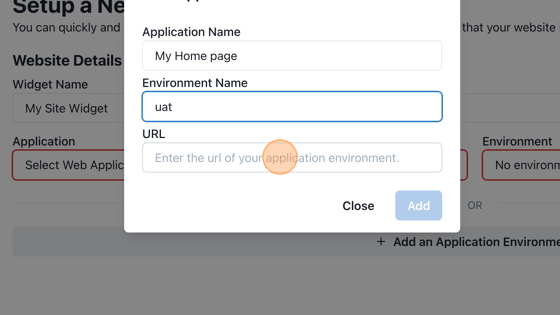
8. Click "Add an Application Environment"
9. Click the "Application Name" field.
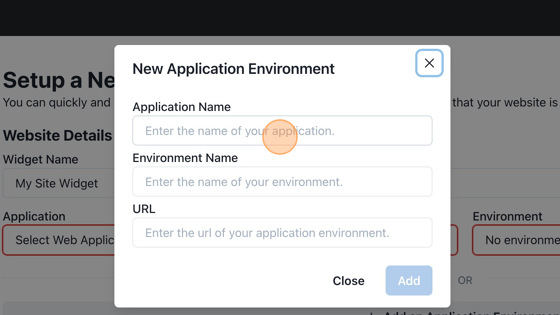
10. Enter a name for your application. Ex. "My Home Page"
11. Click the "Environment Name" field.
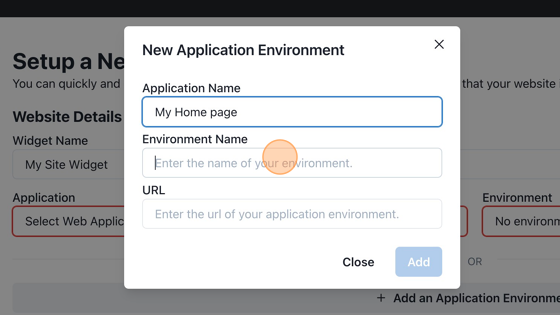
12. Enter your environment. Ex. Dev, QA, UAT, Staging or Prod
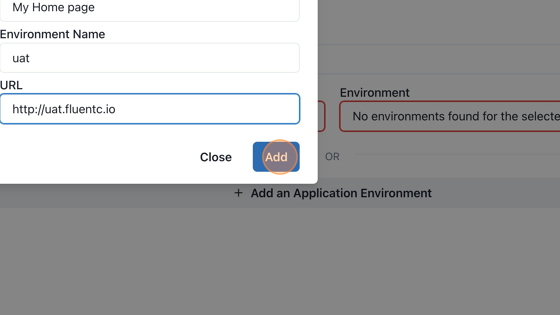
13. Click the "URL" field.
14. Click "Add"
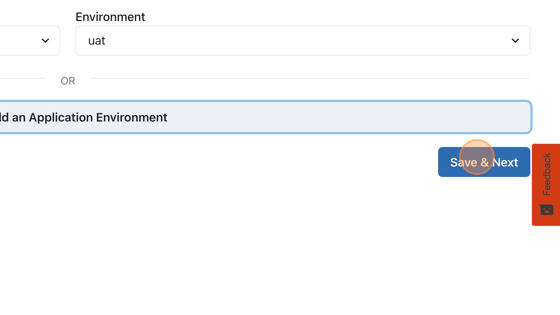
15. Click "Save & Next"
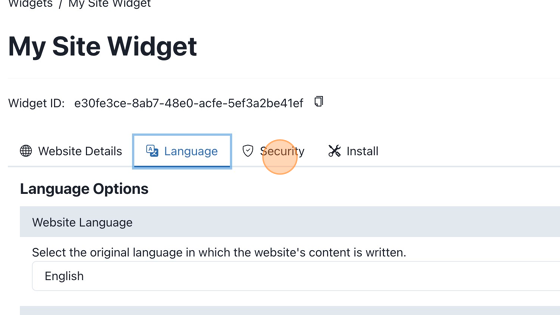
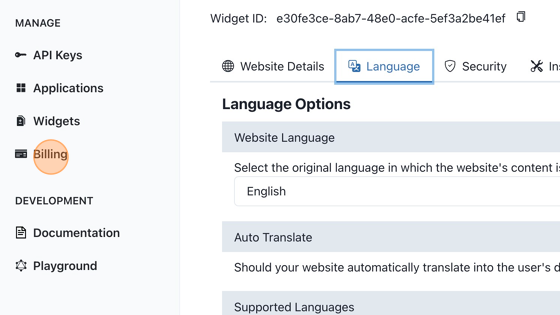
16. Select the source language of your site. This is the original language your site content is written in.
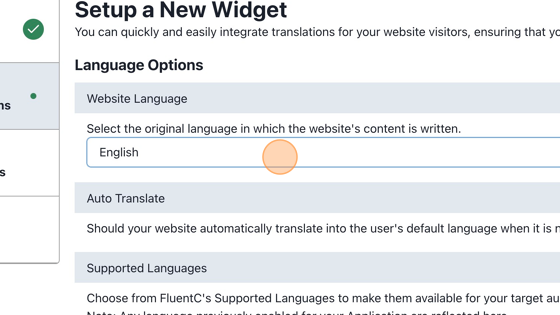
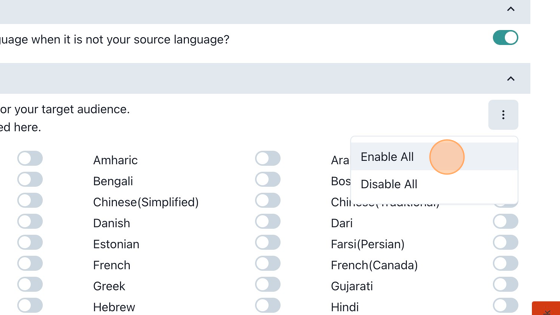
17. Select "Should your website automatically translate into the user's default language when it is not your source language?"
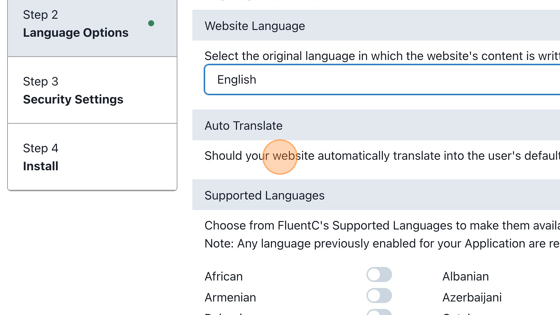
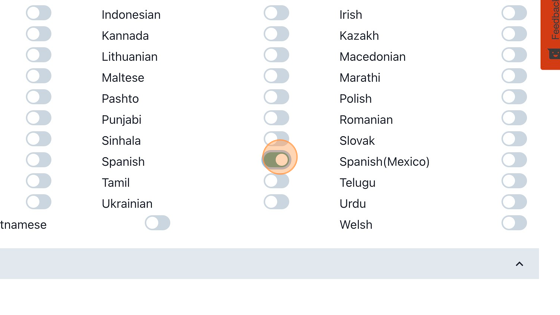
18. Individually select languages to enable for your site
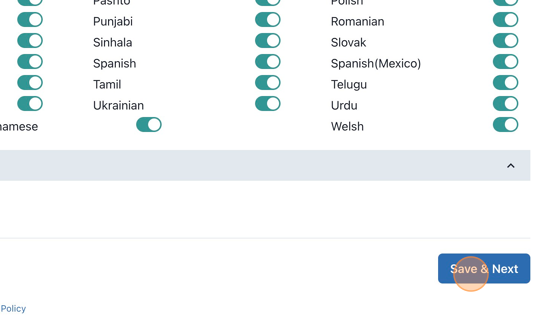
19. Or Choose to enable them all.
20. Click "Save & Next"
21. Add the URL for the site you will be running the FluentC Web Widget on to the allow list. This is for additional security
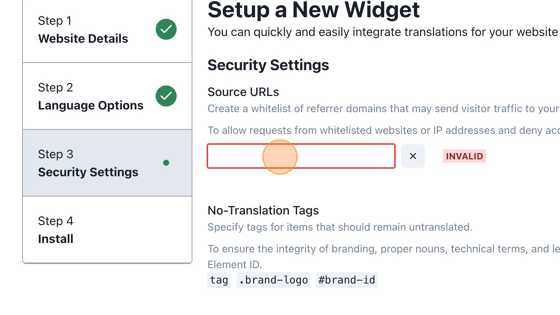
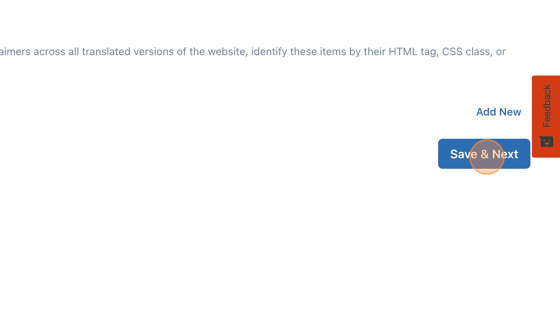
22. Click "Save & Next"
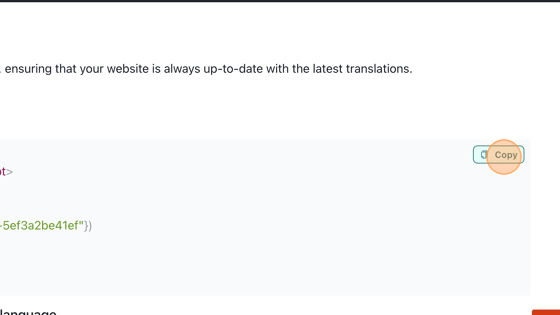
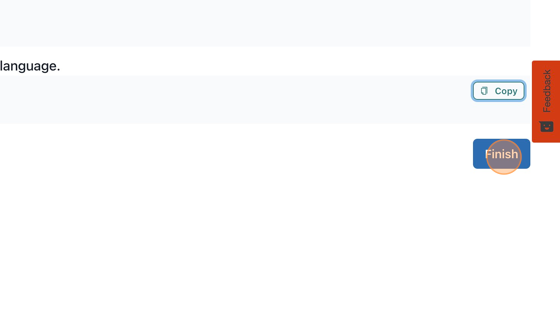
23. Copy the Widget Script and add to your HTML.
24. Copy the div and paste it into your site content where you want the list or dropdown to display.
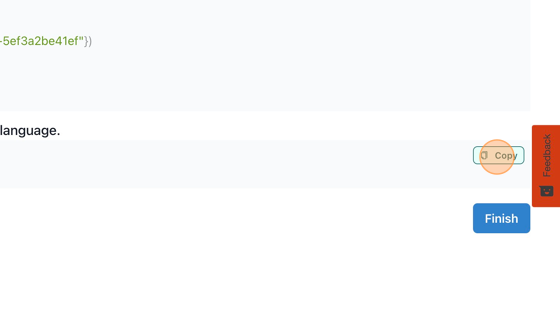
25. Click "Finish"
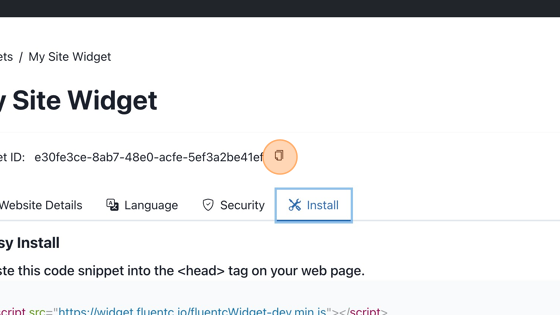
26. You can now Edit your widget settings.
27. Edit Languages
28. Edit Security Settings
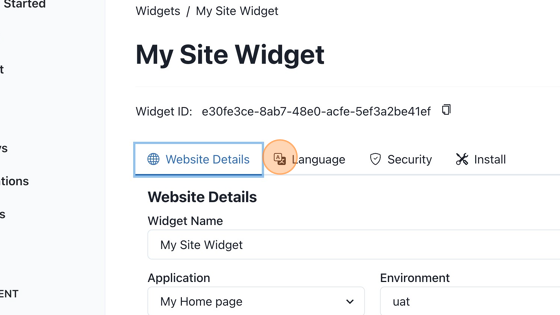
29. View install code

30. Copy your widget ID
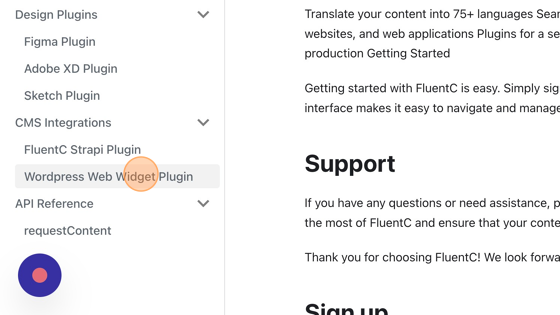
31. For more information, visit our documentation site.
32. Additionally, if you are using WordPress you can try out our "Wordpress Web Widget Plugin"
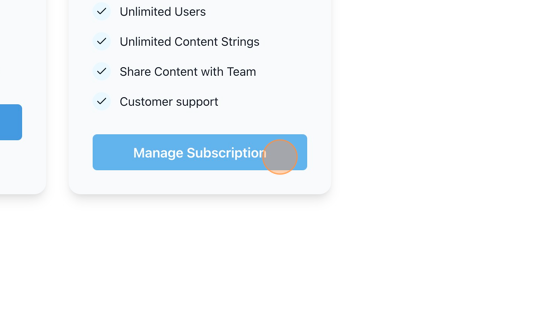
33. Don't forget to subscribe to an Enterprise account to unlock the full widget capabilities! Follow these steps!
34. Click "Billing"
35. Click "Upgrade Plan" on Enterprise
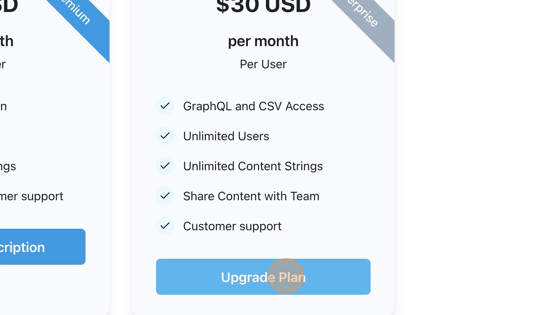
36. You can always manage your subscription from the dashboard billing page.